8 Easy Steps for Natural Beach Waves
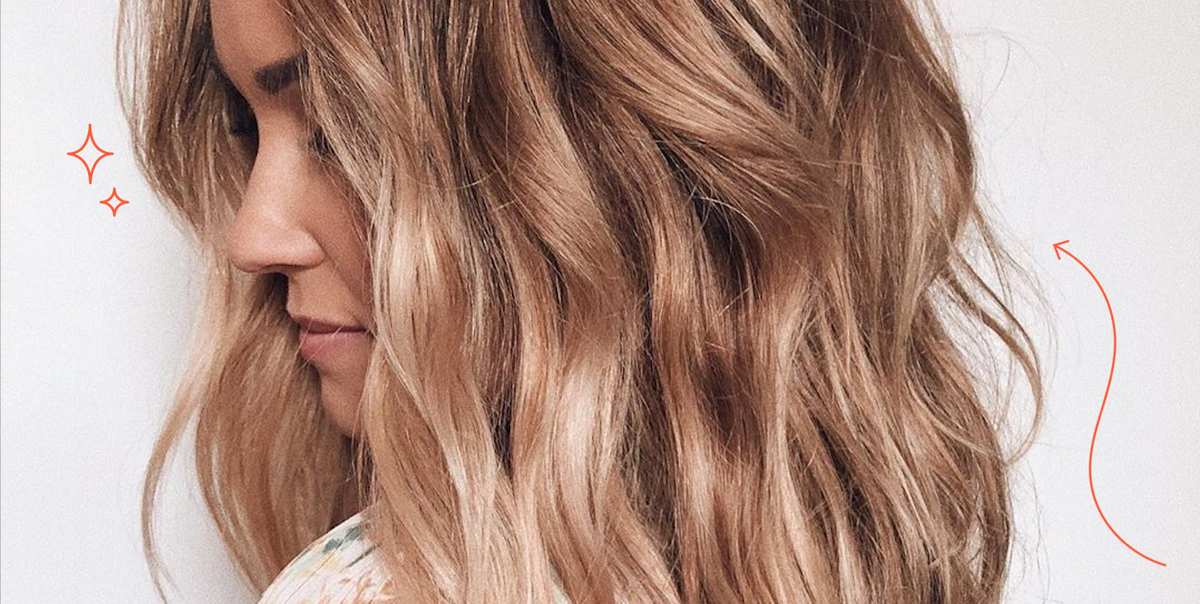
Photo Credit: Cosmopolitan
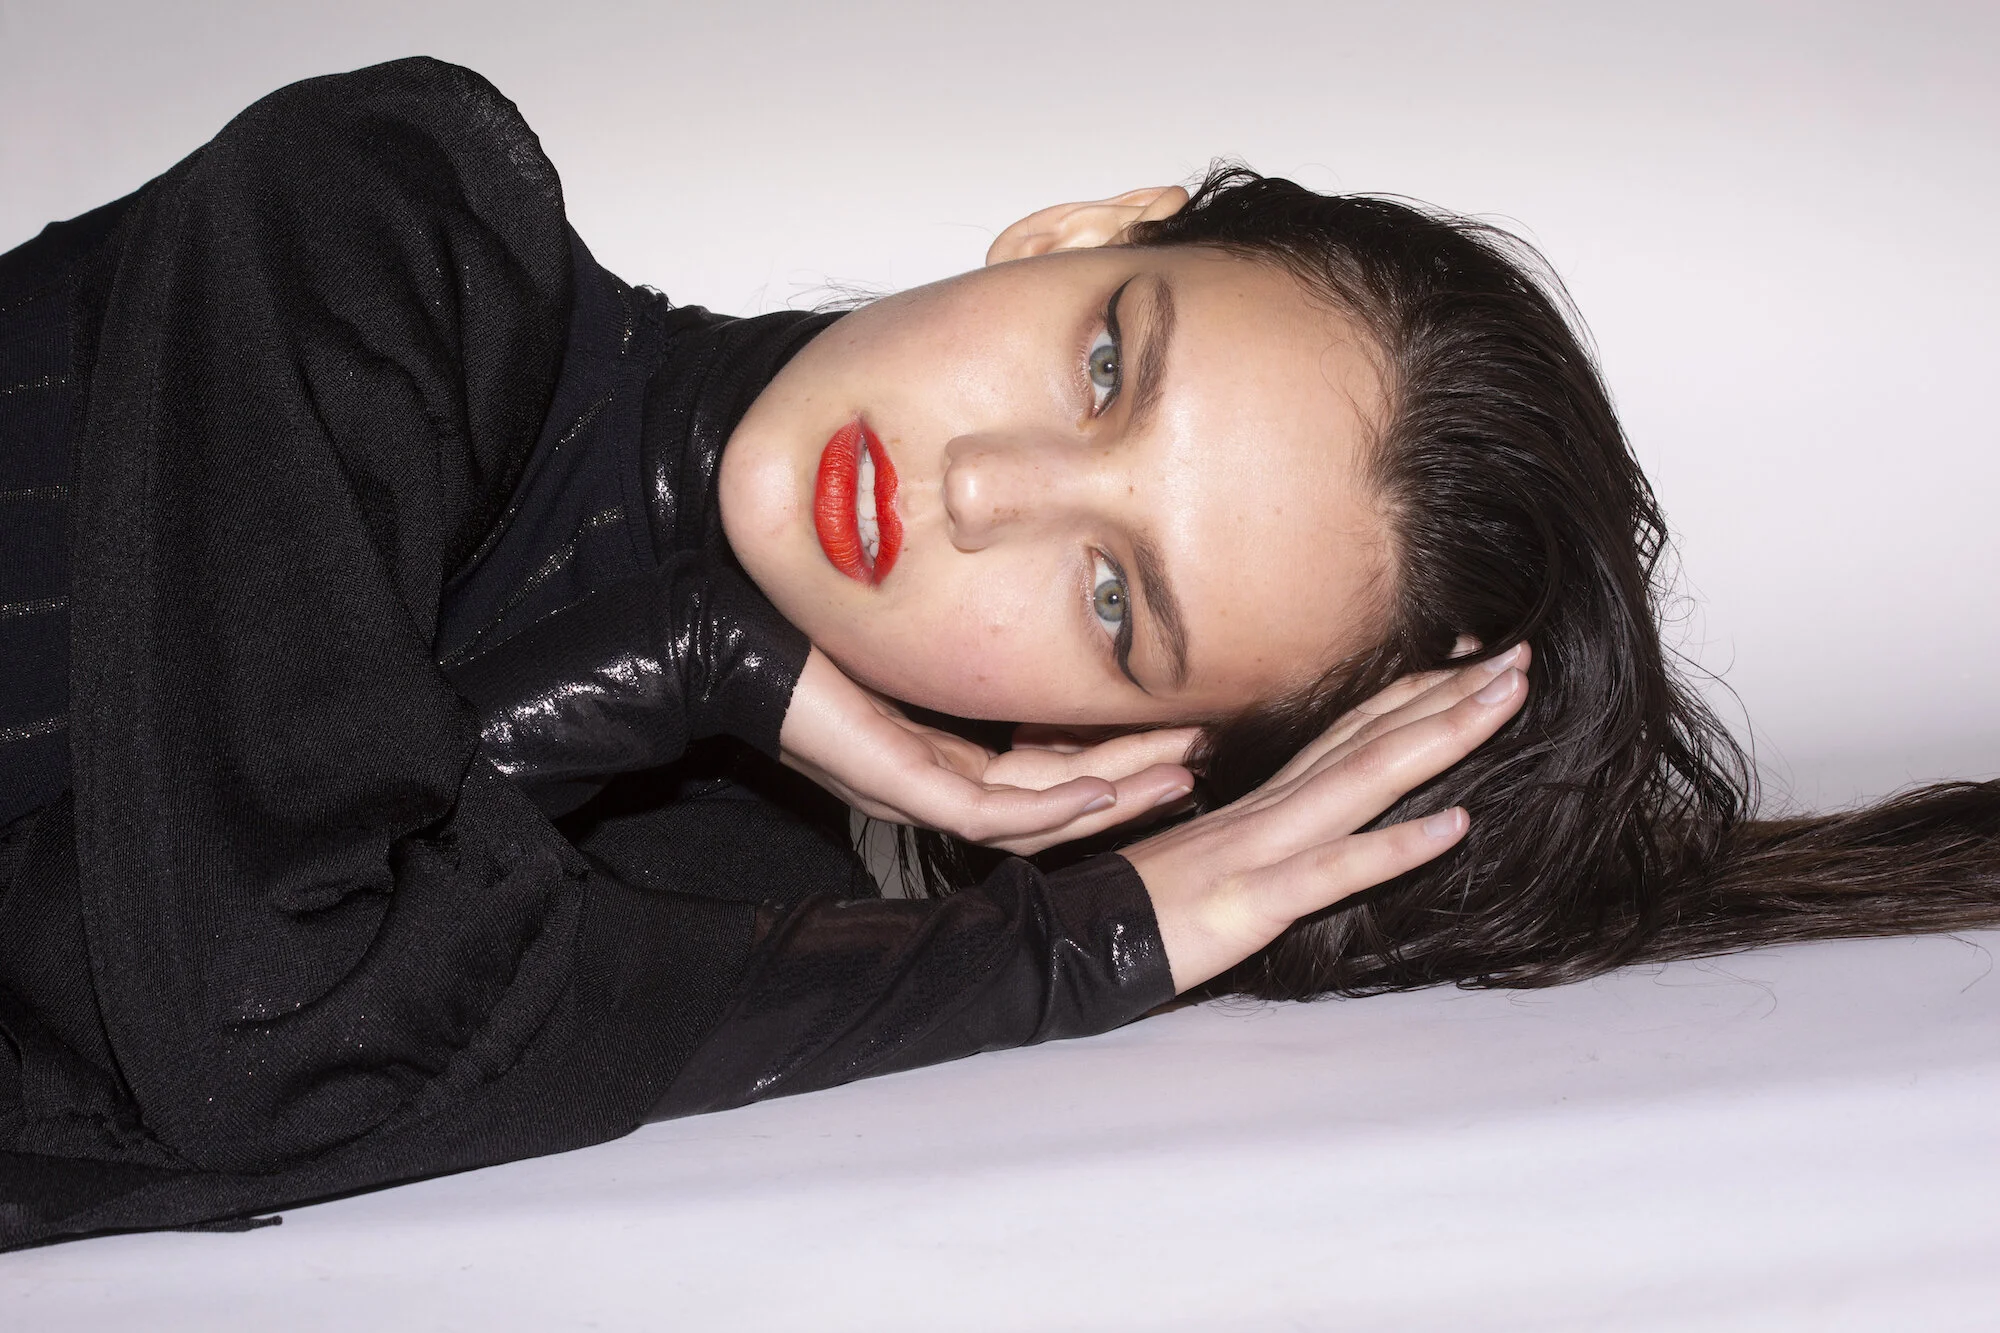
By: Karli Poliziani
What is the biggest thing working from home has taught us? (Okay, that’s a loaded question but…) We don’t know how we ever woke up early to do our hair every. damn. day. Don’t get us wrong, we still love getting ready for a day on the town or to boost our quarantine self-esteem. I mean, we all need makeup and a curling iron every now and again to keep us sane. But for an everyday work from home look we’ve hopped on the less is more train. That’s why we want to share our secrets with you on how to get our favorite au naturel wavy hair style — no straightener, no curling iron, no styling products needed.
Start with dry, or slightly damp, hair. Use a brush or comb through your hair depending on what works best for your hair type.
Tuck your hair behind your ears and use your hands to pull your hair back into a low ponytail. Instead of wrapping a ponytail holder around your hair to secure it in place, grip the “ponytail” with your left hand and hold.
While continuing to hold the low ponytail with your left hand, take your right hand palm facing up with your thumb pointing towards the nape of your neck. With your right hand, grab the ponytail of hair from underneath in its entirety and start twisting it tightly about 180 degrees until your palm is now facing down.
While keeping your grip in your right hand, start to release your left hand grip and move it down to tightly grab overtop of the newly twisted section of hair. Repeat the twisting in step 3 with your right hand and continue doing so until the entire ponytail is twisted with about 1 inch left at the end.
Your ponytail should be twisted tightly enough that you should start to feel the hair closest to your scalp begin to coil towards the left or the right. Follow the natural direction your hair wants to go and begin to coil the rest of the ponytail of hair around in a full circular motion until all of the hair is wound into a low bun -- think of spiraling it like a cinnamon bun.
Once your hair is fully wrapped around in a bun, take a ponytail holder and secure it in place. We recommend using a plastic coiled band or a scrunchie, as to avoid creating harsh crease lines in your hair.
Leave your twisted bun in place for the following recommended time based on your hair type and desired volume of waves.
1 hour = soft waves (less time needed for hair that easily holds curls)
2 - 3 hours = medium waves (for in-between hair -- not too thick, not too thin)
4 - 5 hours = very defined waves
6+ hours = curls (option to sleep in the bun to further tame frizz and set curls)
Once your desired time has passed, gently take out the band that is securing your bun in place. Slowly run your fingers through your hair to separate the twist. Option to use a wide tooth comb to make your hair a little less curly and more wavy. We recommend using a comb instead of a brush, as a brush tends to cause the waves to fall and potentially frizz. Style as desired.
Some other articles we thought you might love…


follow us on instagram!
@makingitinmanhattan